Alerts
Use alerts to monitor metrics, records, and process values. An alert can be set to notify several external systems or users when a defined threshold is met or exceeded. For example, when the metric value differs from the previous time interval by more than 50%.
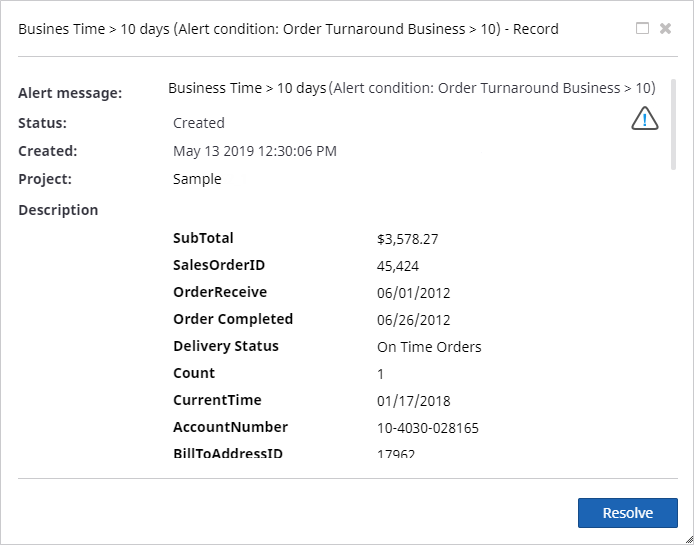
In Insight, you can configure alerts either to see on the dashboard or receive by email. In this exercise, you will create alerts that notify you when order processing takes more than 10 working days.
To configure alerts, perform the following steps:
- Create and configure an alert.
- Enable checking alerts in Admin Console.
Create an alert in the Viewer
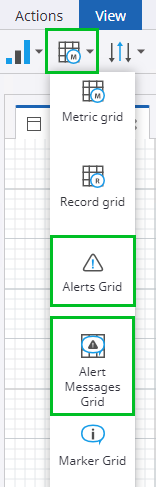
You need to use two components in Insight to manage alerts: alerts grid and alert messages grid. An alerts grid must be added to the dashboard so that alerts can be created in the Viewer. The end user can see these alerts in the alert messages grid.
- In Studio, create a new View, name it Alerts, and then click OK.
-
Drag the alerts grid and alert messages grid to the
canvas.
- Create anchors automatically on the View.
-
Save the View and open it in the Preview/Viewer.

Configure an alert based on a record
Alerts can be created only in the Preview or Viewer. Open the View in the Preview or in the Viewer, add conditions for your alert. Alerts can be based on three sources: on a metric, a record, or a process. For our example, the alert is based on a record.
-
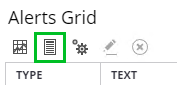
On the
Alerts Grid component, click
New record alert.
-
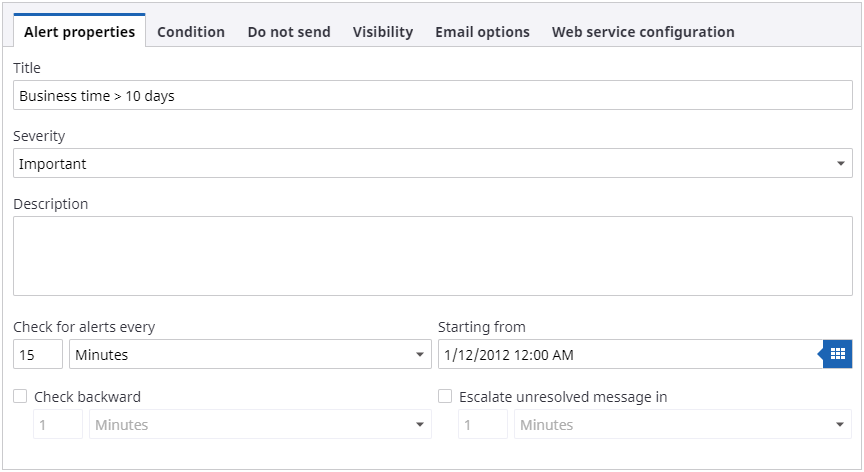
Configure the
Alert properties tab:
- Name the alert.
-
Set the
Severity to
Important.
If you set the importance to Critical, alerts are shown in pop-up windows in the Viewer.
- Set Check for alerts every to 15 minutes.
-
In our example, we have data only for the years of 2012 -
2013, so change the year in
Starting from to
2012.
-
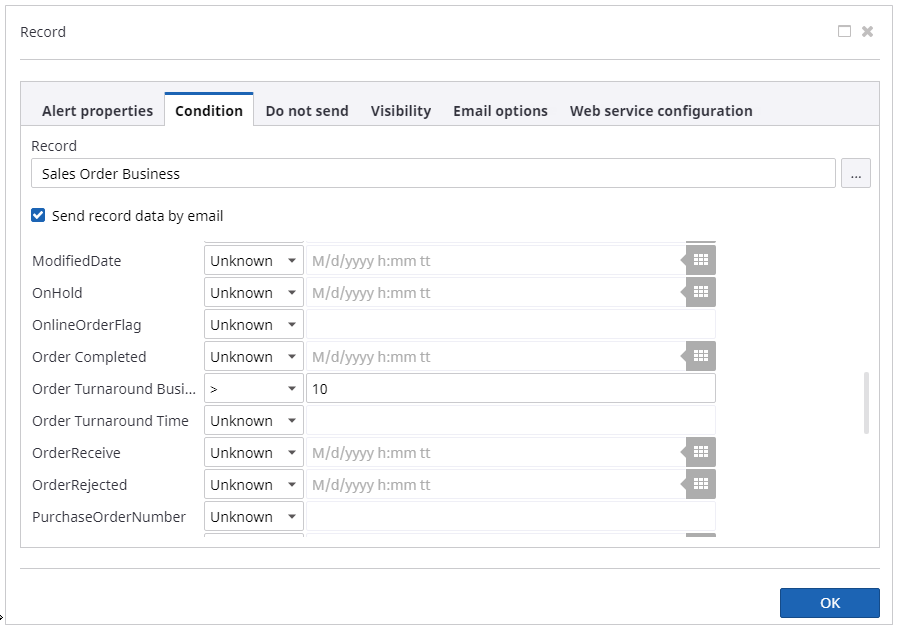
Configure the
Condition tab:
- Click the ellipsis icon and select the Sales Order Business record. Click OK.
- Select the Send record data by email check box.
-
Set
Order Turnaround Business to > 10.
-
Configure the
Visibility tab. Select
the current role to be eligible for seeing alerts on the dashboard.
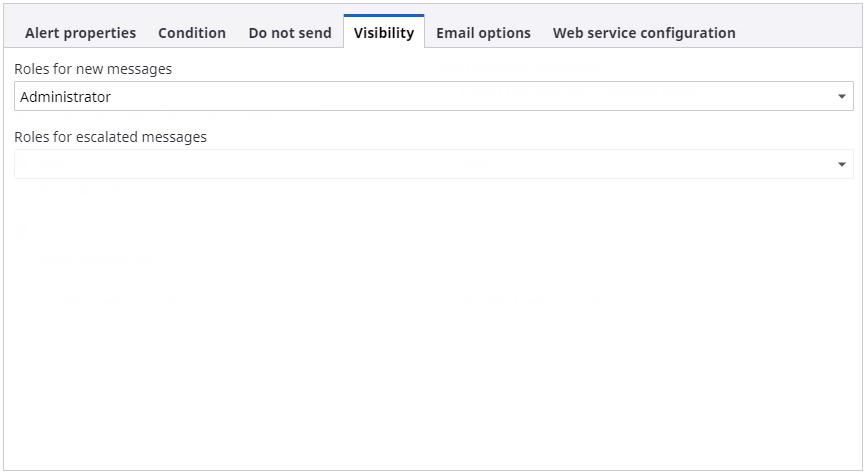
- Click OK.
-
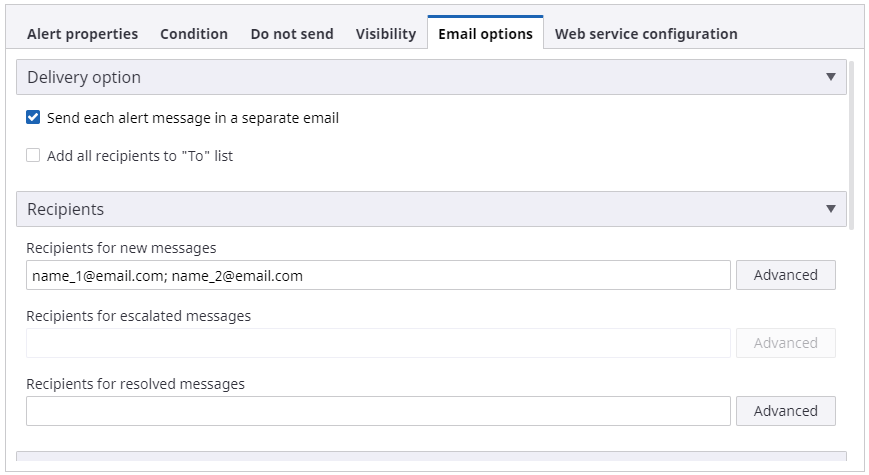
Configure the
Email options tab:
- In the Delivery option group, select the Send each alert message in a separate email check box.
-
In the
Recipients group, add the email address
for
Recipients for new messages. Use a comma
or a semicolon to add several recipients.
Enable checking alerts in Admin Console
-
On the
Documents Tree, click
Distribution. Under
Alerts distribution
projects, select the Sample project.
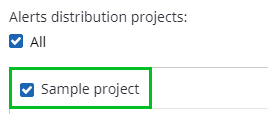
- Save the changes.