Sign documents
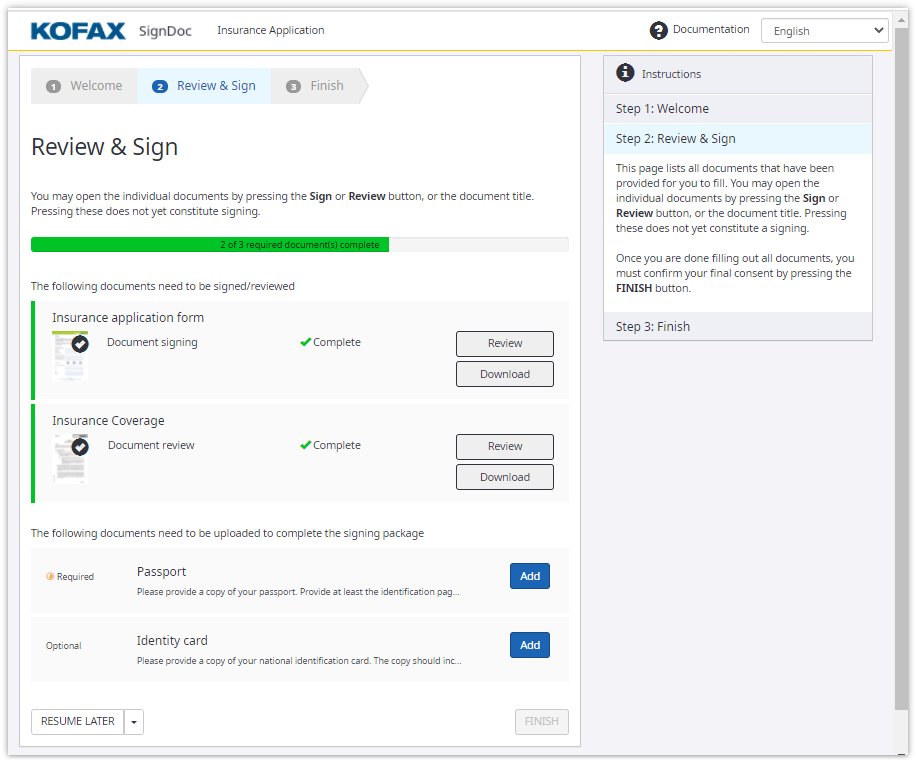
On the Review & Sign page, users get an overview of documents included in the signing package. The list of documents is displayed in the order that a package creator has set.
For each document, the action type
Document signing or
Document review is shown
together with the status information
Action required or
Complete if the action is
finished.
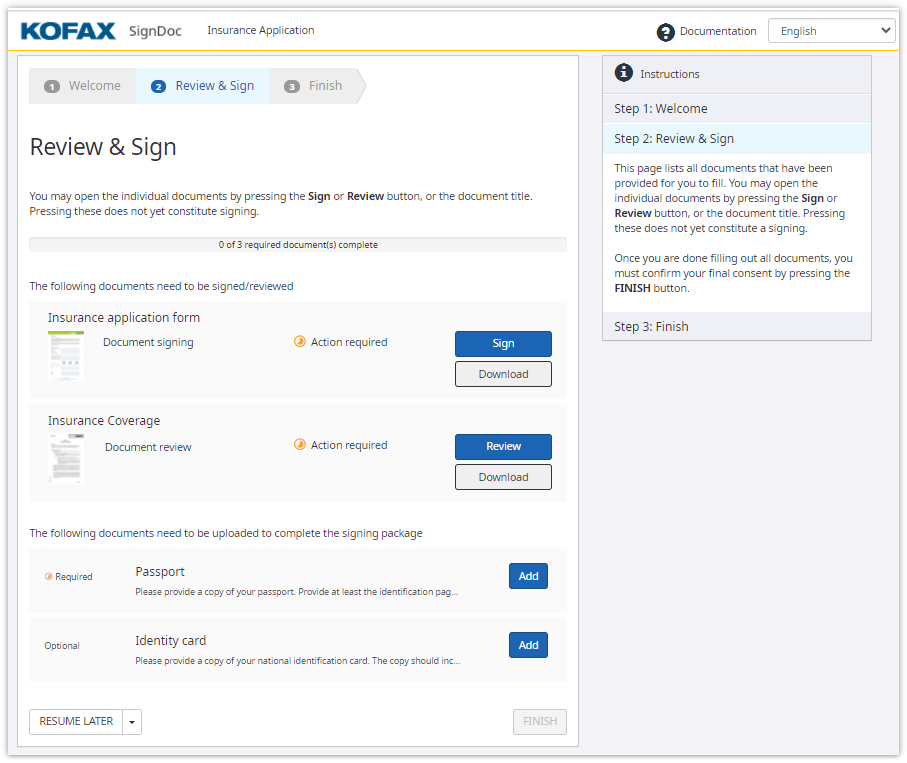
Click Resume later to save the changes without finishing the signing package. You will be redirected back to the list of Signers.
The dropdown menu near Resume later allows to Decline the signing session.
Click Finish if all required fields of all signer documents are completed and/or all documents have been reviewed by the reviewer. After users finish, they can no longer edit the documents in the package.
Document review status informs that the document should be reviewed by the recipient. If there are fields available for editing their filling is optional for the reviewer.
All pages of the document are displayed in a continuous paging view.
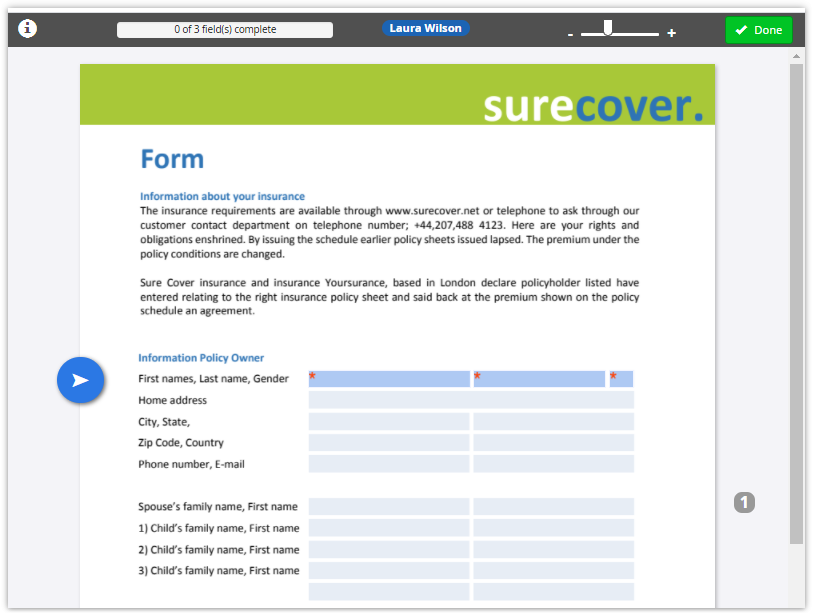
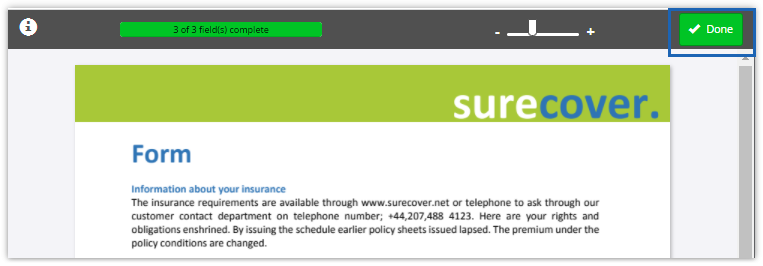
In the header, you can see the title and description of the current document.
With the zoom slider you can stepless zoom in and zoom out the document.
On small screens the zoom slider can be accessed by clicking the zoom
icon.
If you click the info icon to the left the application displays the popup menu with useful information about the document, such as document message, document description and certificate information.
Documents may have form fields that recipients need to complete. Fields in the document are shown with a blue background. Required fields are marked with a red asterisk. Users can click the fields to fill them in.
A form filling guide is displayed on the left side of the page to assist navigation to the fields of the document. On mobile devices, this guide is shown in the toolbar. The guide points users in the direction of the next field. You can also click the guide to automatically scroll there.
To sign, click in the signature field and follow the instructions. You can also remove any signatures added by clicking again in the signature field and clicking Clear Signature if it is not prohibited by package administrator (specific setting for Clear signature availability is provided in Administration settings).
If the Client certificate required option is enabled (see information about signer certificates in Add recipients to documents package), a client certificate is requested the first time you sign a field in any of the documents. This certificate is used for all subsequent digital signatures for the current signer unless removed.
After the signer certificate is available to the signing session, a new
certificate icon is visible in the popup menu.

When clicking the certificate icon, information about the certificate is
displayed. From this dialog box, you can also remove the certificate from the
signing session.
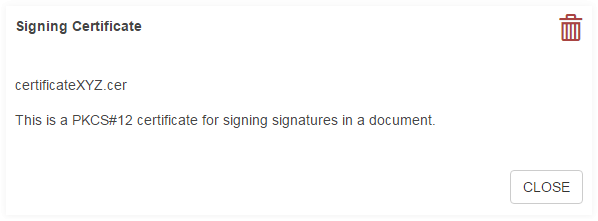
After clicking the delete icon
 , a message informs you
that the client signing certificate has been removed and a different
certificate may be applied to new signatures.
, a message informs you
that the client signing certificate has been removed and a different
certificate may be applied to new signatures.
The following methods are available to sign a document: signature image,
stamp image, signature, photo capture, or Click-to-Sign.
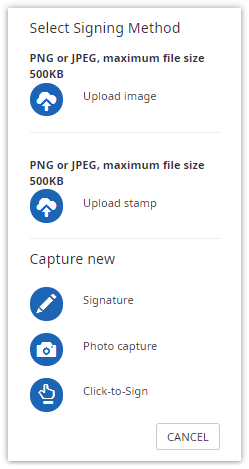
- Signature image
Sign the document using a saved image. To use this feature, click the Upload image menu item and select a JPG or PNG file to use for signing. After that the popup displays the image and you can click the image to sign the document:
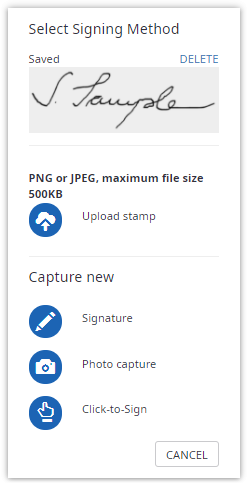
The signature image is stored on the computer or device that you are working on. You can delete the stored image by clicking the Delete link.This method appears:
- In-person signing: Only for a signer added with the Add me button in the package wizard.
- Remote signing: For any user
- Stamp image
Allows signing the document with the stamp. To use this feature, click the Upload stamp menu item and select a JPG or PNG file to use for signing. After uploading the popup displays the stamp and you can click the image to sign the document:
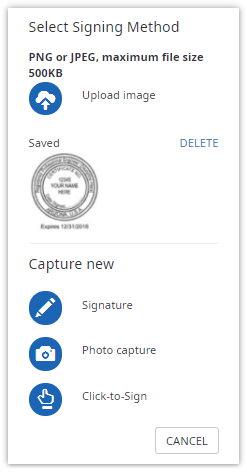
As well as the signature image the stamp is stored on the computer or device that you are working on. You can delete the stored stamp image by clicking the Delete link.This method is available for:
- In-person signing: Only for a signer added with the Add me button in the package wizard.
- Remote signing: For any user
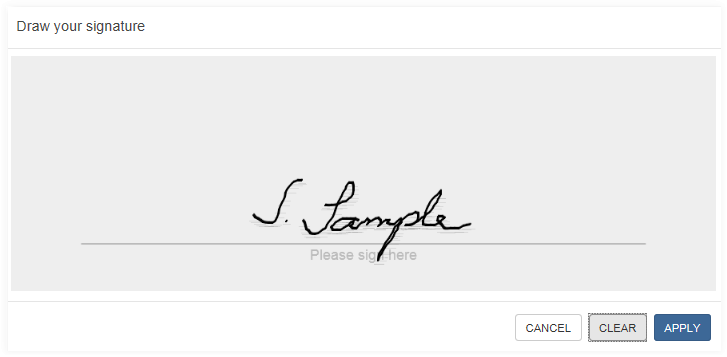
- Signature
Sign with your mouse or signature pad.
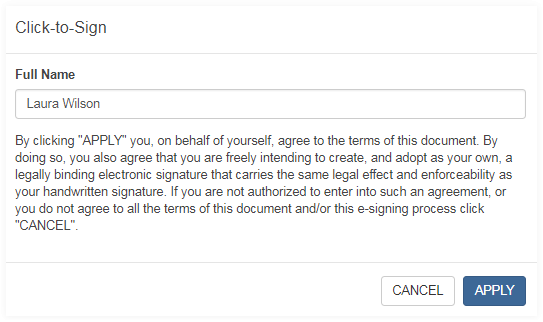
- Click-to-Sign
Sign by typing your name.
- Photo capture
Use your device camera to take a picture to sign with. To take a picture, click Snap. To take the picture again, click Re-take. If you are satisfied with the picture, click Apply.
If
Clear Signature action is
available by administration settings you can also remove any signatures added
by clicking again and clicking
Clear Signature.
After you are done editing or reviewing the document, click Done to return to the previous page.
Download your documents
To download your documents, click the download button:
After you finish filling or reviewing all documents, click
Download All to save all
completed documents as a zip file.
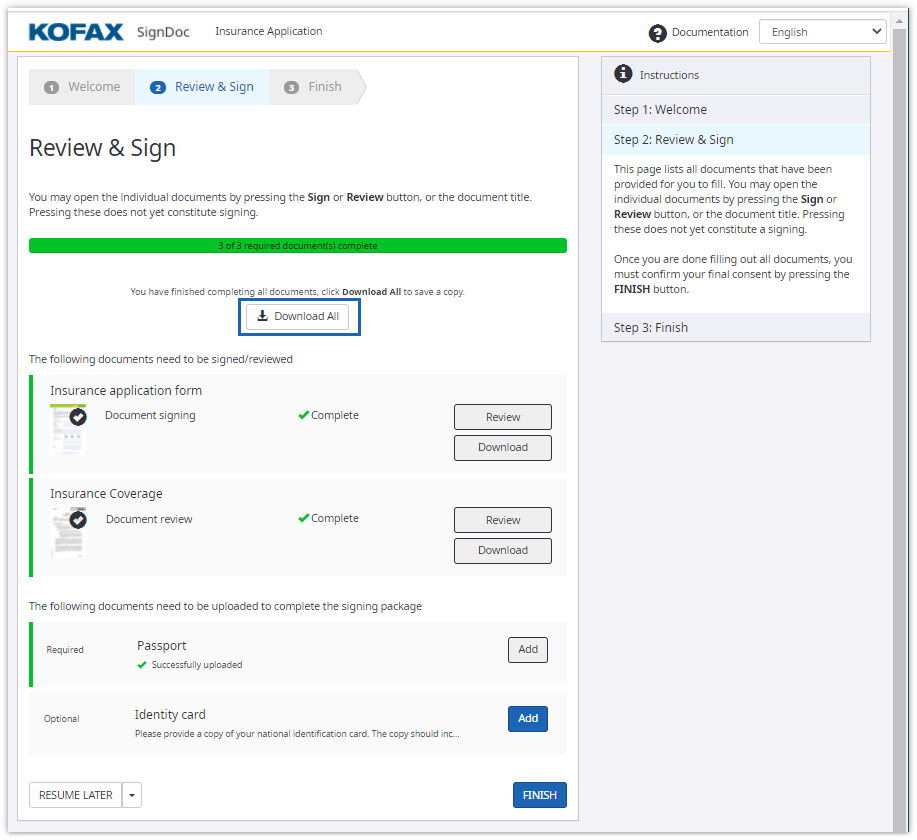
Then the Finish button is enabled, and the recipient can finish the review and sign process.
Clicking Finish SignDoc Standard guides the recipient to the Completeness & Thank you page.